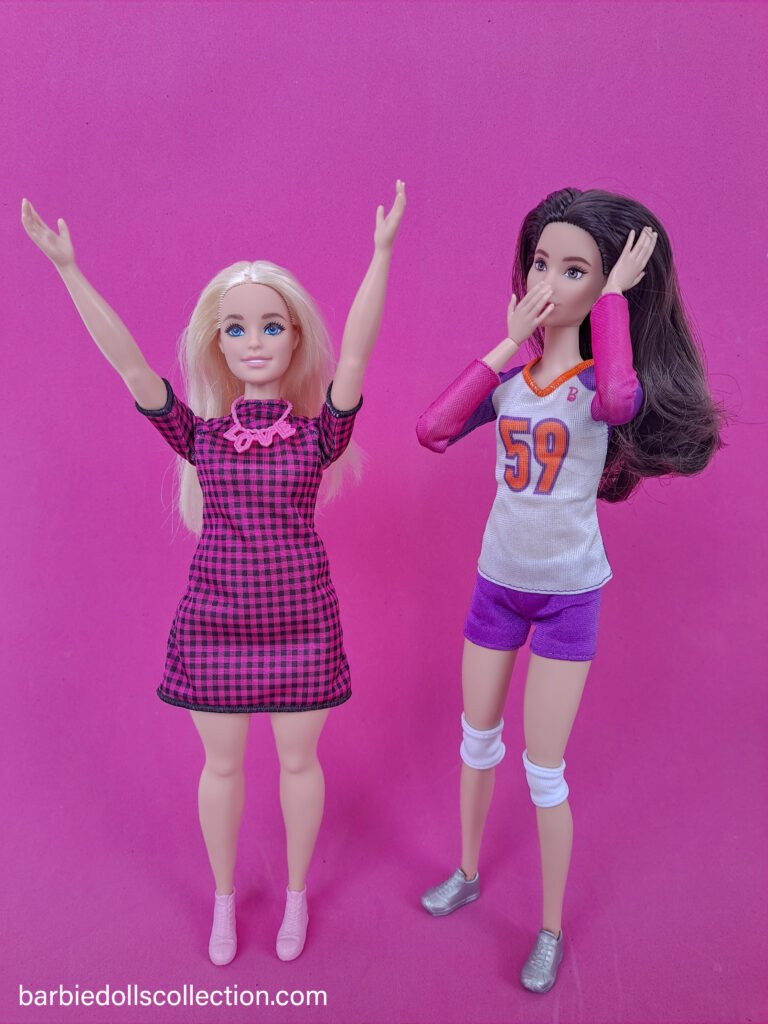
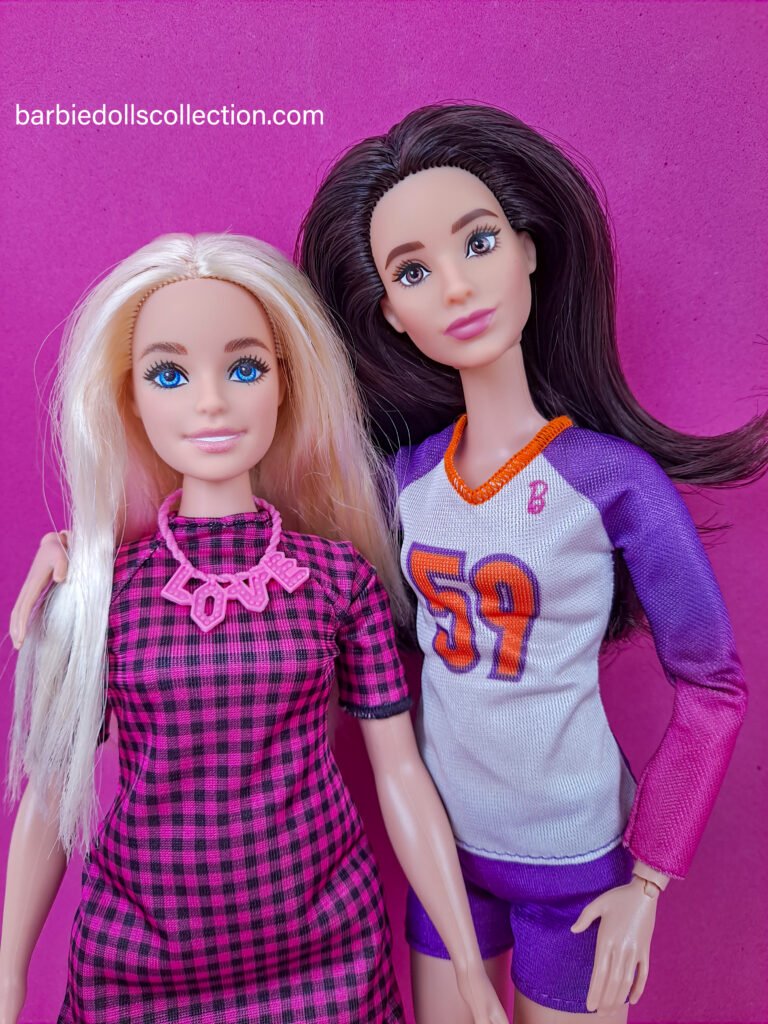
Rebodying a Barbie doll involves transferring a doll’s head onto a different body, usually to improve articulation, match skin tone, or restore a broken doll. Here’s a beginner-friendly, step-by-step guide to help you rebody your Barbie safely and successfully.
I want to share my experience making my first Barbie rebody. Before starting, I read as much as I could and watched tutorials to make sure I did it correctly and didn’t damage my dolls. But the truth is, there’s no single, exclusive way to do it, although of course, some methods are always recommended over others. Personally, one method was a little more complicated than I thought, and I had to opt for another.

Below is a list of what you need and a step-by-step guide on how to rebody a Barbie doll. I’ll also tell you a little more about how it worked for me.
✂️ What You’ll Need:
- Two Barbie dolls:
- One with a head you love (the “donor head”)
- One with a body you want (the “new body”)
- Bowl of hot water or a hairdryer
- Towel (to protect your hands while handling heated vinyl)
- Optional tools: small flathead screwdriver or tweezers (to adjust or tuck neck pegs)
- A gentle touch – patience and care are key
🛠️ Step-by-Step Guide:
Step 1: Choose Compatible Dolls
- Try to match skin tones between the head and the new body. Mattel dolls come in a variety of shades, so matching can be tricky — compare them in natural light if possible. There are also online guides or groups in social media that can help you.
- Ensure that both dolls have similar neck peg systems. Most Barbie dolls from the same era or line (like Fashionistas or Made to Move) are compatible, but vintage or collector dolls may vary.
Step 2: Soften the Doll’s Head
To safely remove the head without tearing the neck hole or breaking the internal peg, you need to soften the vinyl:
Option A: Hot Water Method
- Submerge the doll’s head (just the head, not the body) in a bowl of hot water for 1 to 2 minutes.
- Be careful not to soak the hair too much, especially if it’s glued in — trapped water can lead to mold.

Option B: Hairdryer Method
- Use a hairdryer on medium or high heat.
- Warm the head, especially around the neck area, for 1 to 2 minutes — remember to protect the hair.
- Use a towel to grip the head for safety.
- This was the method that worked for me.
Step 3: Gently Remove the Head
- Hold the body firmly and gently twist and pull the head off the neck peg.
- Use a side-to-side rocking motion while pulling upward — never yank!
- Watch for the neck peg inside the head — it may have small barbs or prongs that help the head stay on.
- Try not to break these if you plan to reuse the body.
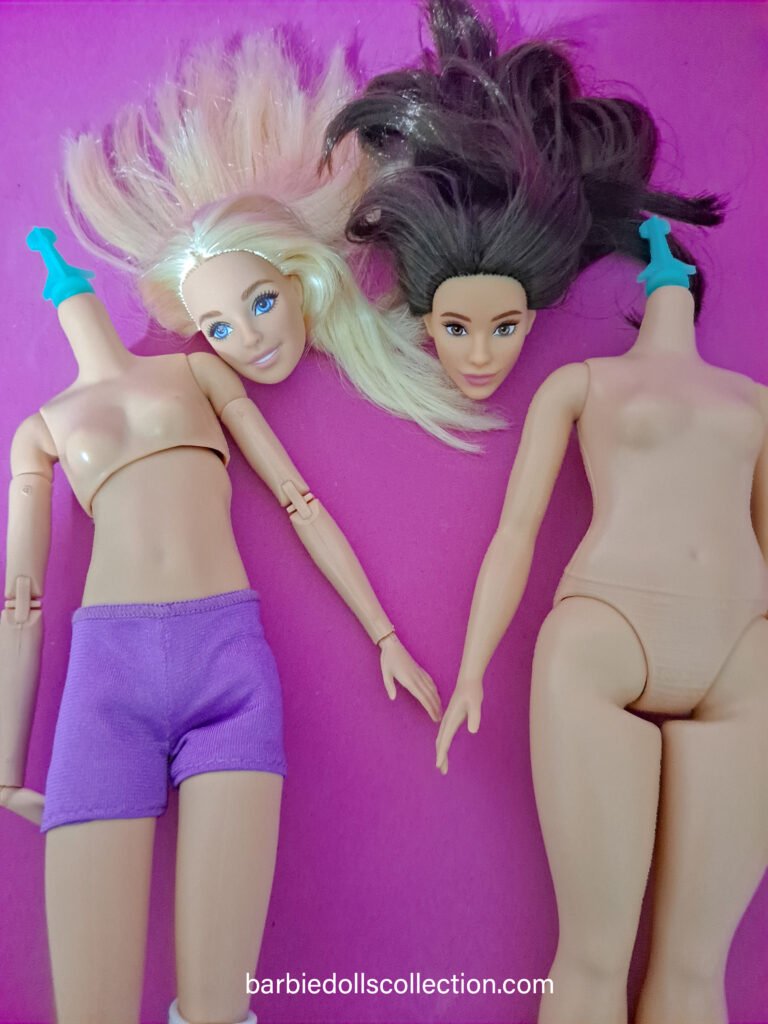
Step 4: Prep and Attach the Head to the New Body
- If the head has cooled, reheat it gently before attaching it to the new body.
- Carefully push the head onto the neck peg of the new body.
- Use tweezers or a flat tool to tuck in any inner prongs if needed.
- Do not press too hard — you can split the neck hole or damage the peg.
🛠️ If the fit is too loose, try wrapping a tiny bit of plastic wrap around the neck peg or use a dab of hot glue inside the head (let it cool slightly before inserting the peg).
Step 5: Check the Fit and Finish
- Test the articulation of the neck. The head should move naturally side-to-side and tilt slightly.
- Check for any visible gaps between the neck and head. A good fit should look seamless.
- If it feels too tight or too loose, carefully reheat and adjust as needed.
✅ Beginner Tips:
- Start with inexpensive or thrifted dolls for practice.
- Always warm the vinyl — cold plastic is more likely to tear.
- Try to stick to the same doll line or generation (e.g., Mattel Barbie 2010s with another from the 2010s).
- Keep all removed heads and bodies — they can be reused or customized later.
- Refer to online Barbie skin tone charts to find compatible shades if you’re unsure.
I hope this guide and tips have been useful to you. Remember, what works for someone else doesn’t necessarily have to work for you. Practice will lead you to perfect your method!